Sunday, May 20, 2012

Refinished Side Table

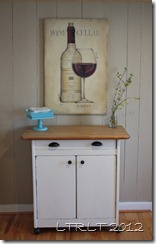
I don’t know what this cabinet was initially intended for, but I decided to use it in my dining room.

Here it is in it’s initial er.. glory last summer.

Dining Cabinet Before

Very very meh.

And now?

Dining Cabinet After

So much better.

Now I have a nice place to store napkins, candles and the like.

Win!

Wednesday, May 16, 2012

Refinished Cabinet

Now that the weather is semi-cooperating and I can haul my gear outside, I’m working on paint projects again.

I don’t have a fantastic before picture, but you can see it here behind Baby Monkey (*whimper*) a few years ago.

Cabinet Before

It’s been a work in progress for a long time.  I’d started painting it black before the move.  Last fall, I finally pulled it out again and primed it with a plan in mind.  It got put away for winter once again and I was finally able to finish it this week.

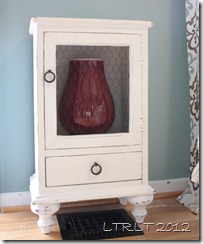
Voila!

Cabinet Finished 

I love how it looks now. 

I also love scratching yet another project off the list.

Another piece of furniture almost sent off to the trash man but saved by my paint brush!

Tuesday, January 10, 2012

30 Days of Christmas – Project 24

Popcorn tins.  They always appear at Christmas.  What to do with them when they’re empty?  Well, if you’re a member of our extended family, you hand them off to MOI!
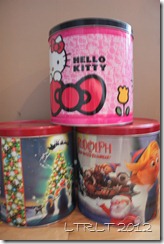
Empty Popcorn Tins

I’ve been fighting with storage for the playroom since we moved into this house.  I thought these might help corral some of the toy chaos.

I considered spray painting them, but then they’d just look like a bunch of spray painted popcorn tins.

What’s a girl to do?

Fabric + glue gun = brilliance.
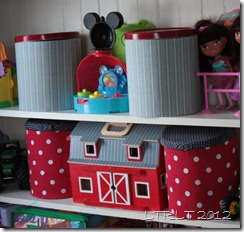
Fabric Covered Popcorn Tins

I covered the lids on 2 with more fabric.  This did make them more difficult to close so the lids aren’t secure.
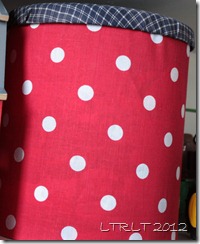
Fabric covered popcorn tin

The other 2, I left the lids plain because I liked the red.
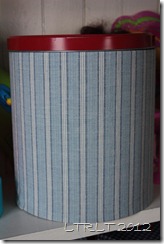
Fabric covered popcorn tin 2

Just in time to make room for all of the Christmas toys the kids received!  (Our families are too generous.)
30 Days of Christmas – Project 23

I picked up a few packs of Styrofoam trees thinking I’d make all sorts of cute trees with them.  I only used up 1 pack this year, losing inspiration to the chaos quite quickly. 

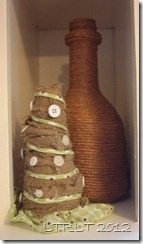
I used scrap strips of burlap and an old shirt I should never have had in my closet in the first place, the glue gun to hold it all on, a few button “ornaments” and… 

Voila:

Burlap Tree

Cute.  Easy.  Love.

Related Posts with Thumbnails